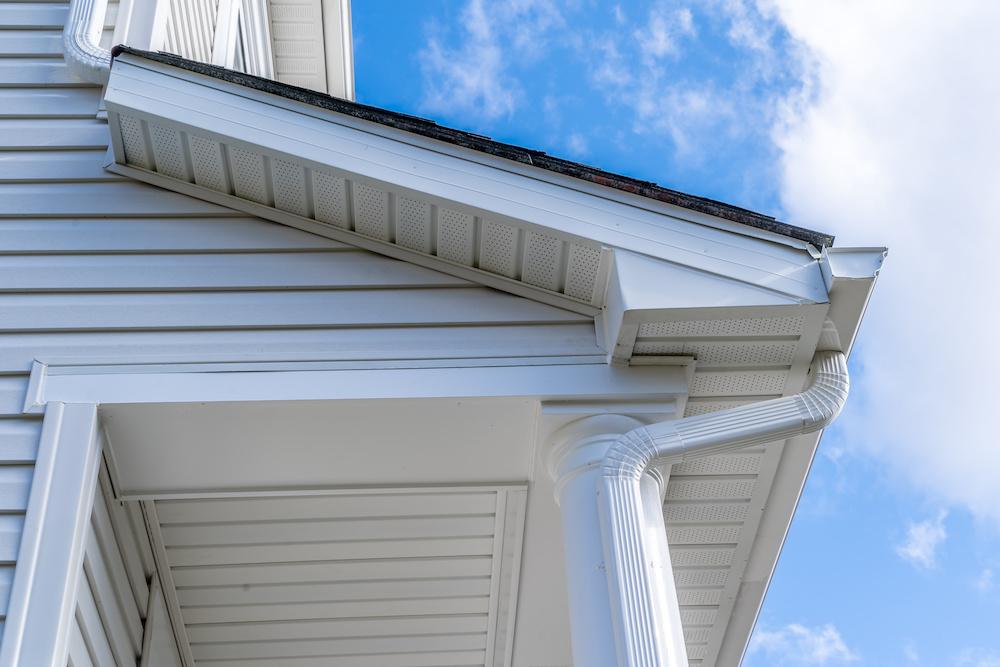
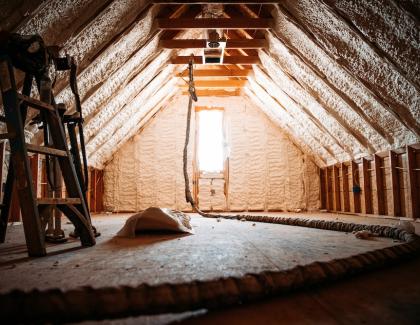
Whenever wood fascia terminates into a wall (what’s commonly called a “fascia return”), it should be regarded as a penetration in the weather resistive barrier (WRB) and properly flashed.
But the reality is that fascia returns are often overlooked or neglected instead of getting a high level of attention to ensure performance and mitigate problems.
While installers often attempt to tape the housewrap as close to the fascia as possible, it’s not enough. Unless there is a preliminary flashing panel behind the return, there will always be a potential path for water to leak through the WRB, which is an invitation for water damage and, ultimately, damage to the builder’s reputation as well.
The challenge is that for fascia return flashing to be properly installed, it must be installed by the framer before the return and roof assembly is completed, and framers don’t usually deal with flashing components. Nevertheless, they are the ideal candidates for the job.
Steps for Proper Installation
Refer to these simple steps to educate your framers about the proper way to install fascia return flashing:
- Before framing the roof and fascia, install a preliminary flashing membrane anywhere and everywhere a fascia board connects into a wall.
- The recommended material for the fascia return flashing is a durable, waterproof membrane such as Grace Ice & Water Shield, or any other 24-inch-wide self-sealing membrane. It must be durable because it’s going to be exposed to wind and construction activities for a period of time before the WRB is installed.
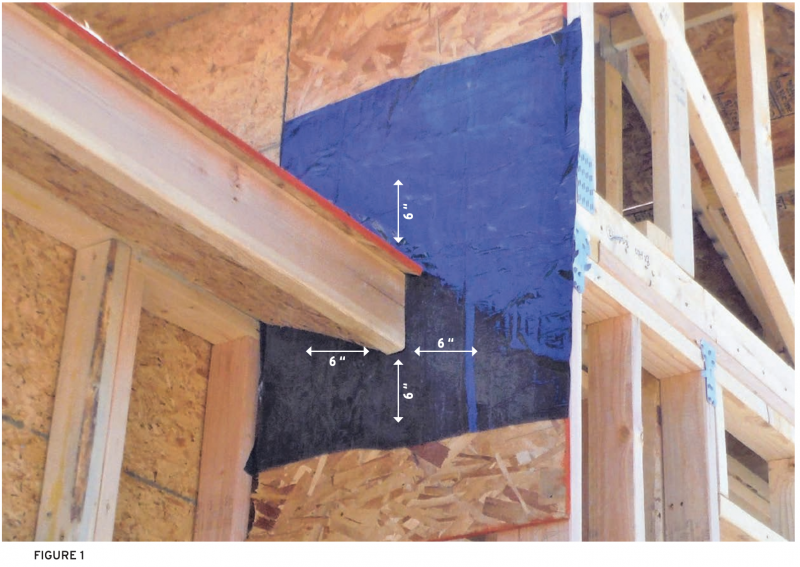
- Cut a 24-by-24-inch square of flashing membrane and center it right where the 2-by wood fascia will meet the wall (Fig. 1). Fasten the flashing membrane to the wall along the top edge only. The bottom edge must be free of fasteners to allow it to be layered over the WRB later. At a minimum, the flashing should extend at least 6 inches in every direction from the face of the wood fascia return.
- Complete the installation of the roof and fascia return.
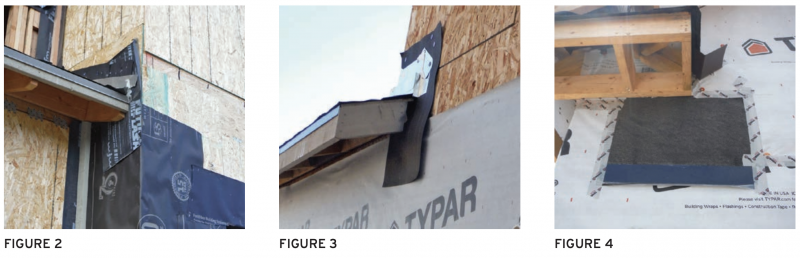
- Prior to installing the WRB, the roofing underlayment should be installed and should wrap up the adjoining wall by at least 6 inches; 12 inches in areas of the country that receive a lot of snow (Fig. 2).
- For tile roofs, the roof-to-wall pan flashing and kick-out flashing should also be installed. Ideally, roofing shingles, step flashing, and the kick-out should also be installed prior to the WRB, but it isn’t essential. However, to achieve proper layering, shingle roofing should be installed prior to the wall cladding.
- When the WRB is being installed, the lower course of housewrap or building paper is layered under the fascia return flashing (Fig. 3). The next course of housewrap or building paper is then layered over the top of the fascia return flashing. • Once the WRB is installed, tape the exposed side edges of the flashing to the WRB. However, don’t tape the bottom edge (Fig. 4).
The assembly is now ready for the exterior cladding to be installed. Maintaining a continuous drainage plane layer behind fascia returns is worth the extra effort because doing so will uphold the quality of your product and will help protect your reputation for years to come.
This piece originally ran as part of the Quality Matters series produced by IBACOS.

Add new comment