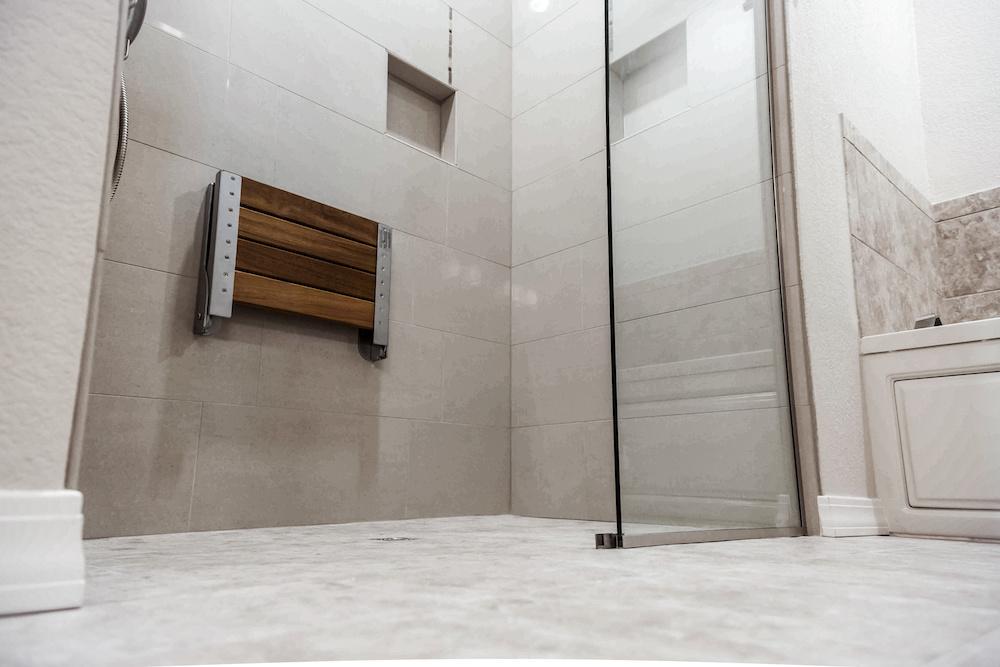
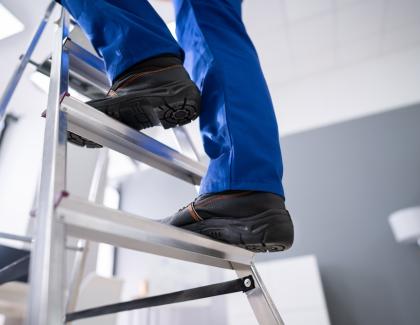
If you take one thing away from this column, it should be that you really need to pay attention to shower seats—that is, if you want to avoid unhappy customers and expensive warranty calls.
Some of the big national builders have already prioritized this detail by making Schluter Kerdi-Board their standard spec for all shower seats. That tile substrate is installed by trained installers and creates a 100% waterproof surface.
Does Schluter cost more than backer board or membrane? Of course. But remember that big builders are corporations that track expenses to the penny. They have figured out that the extra money they spend up front to properly (and consistently) waterproof shower seats is less than what they used to spend dealing with leaks, mold, and rot.
I’m not suggesting all builders commit to this extra expense, but if your showers include seats or other horizontal surfaces such as windowsills or pony wall caps, they warrant extra care. Fortunately, the right details will yield trouble-free results without stressing the budget.
Sealing the Seat
A lot of builders frame shower seats with 2-by lumber and plywood, then cover the assembly with an EPDM membrane. That’s fine when the membrane installation is executed perfectly, but such perfection is rare. It’s difficult to get all of the folds right on a shower seat’s inside corners.
A better approach is to cover the plywood with backer board, then cover the board with a liquid waterproofing membrane. You can use cement backer board, but as a previous column pointed out, you’re better 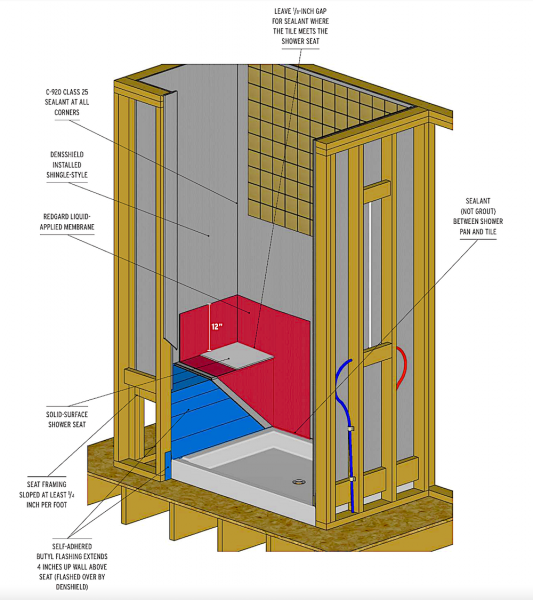 off using a gypsum-based product with a pre-sealed surface such as Georgia Pacific DensShield. Not only is it inherently more water-resistant than cement board, but it’s also easier to install.
As the illustration on the right shows, before installing the backer board, flash the shower seat and the wall below the seat with butyl tape. After installing the board, seal all corners and exposed fasteners with C-920 Class 25 caulk, then cover the assembly with Custom Building Products’ RedGard liquid-applied waterproofing membrane.
The advantage of using DensShield is that you only need to extend the RedGard 12 inches up the wall from the seat surface; with cement board, you need to apply RedGard to the entire wall.
Sequence and Slope
It should go without saying that you should install the backer board shinglestyle: the wall below the seat, the seat itself, then the walls above the seat. That will eliminate horizontal water-absorbing joints at the corners.
You also don’t want to have joints on the shower seat surface—which means using something other than tile as your finish surface. Consider using a single sheet of marble, granite, or other solid-surface material instead. As with the backer board, the proper sequence is to install the seat surface material before finishing the shower walls with tile or another material.
To ensure proper water shedding, all horizontal surfaces need to be sloped at least ¼ inch per foot toward the inside of the shower. That sounds like common sense, and most builders do a good job of sloping shower seats. However, in showers with transom windows, I often see sills with no slope or a slope that goes toward the window itself, which is a recipe for disaster. Even if the window is above the showerhead, the sill is still a wet area that can (and will) collect water, and needs to be treated as such.
John Koenig drives quality and performance in home building as a building performance specialist on the PERFORM Builder Solutions team at IBACOS.
This story first ran as part of IBACOS and Pro Builder magazine's joint Quality Matters series.
Add new comment